Using IntelliJ
GWT provides a set of tools that can simply be used with a text editor, the command line, and a browser. However, you may also use GWT with your favorite IDE. The Idea IntelliJ Ultimate Edition provides a GWT plugin, but the free Idea IntelliJ Community Edition is all you need. IntelliJ provides awesome Maven support, enabling the IDE to read the project classpath, and easily create run configurations for compiling and running a GWT project.
Download IntelliJ
If you do not already have IntelliJ, you may download it from the IntelliJ Website.
Import a Web Application
To import a Web Application - create with an archetype creator, select File > New > Project from existing source
from the File menu. Select the root directory of the project you want to import and press enter.
A dialog opens:
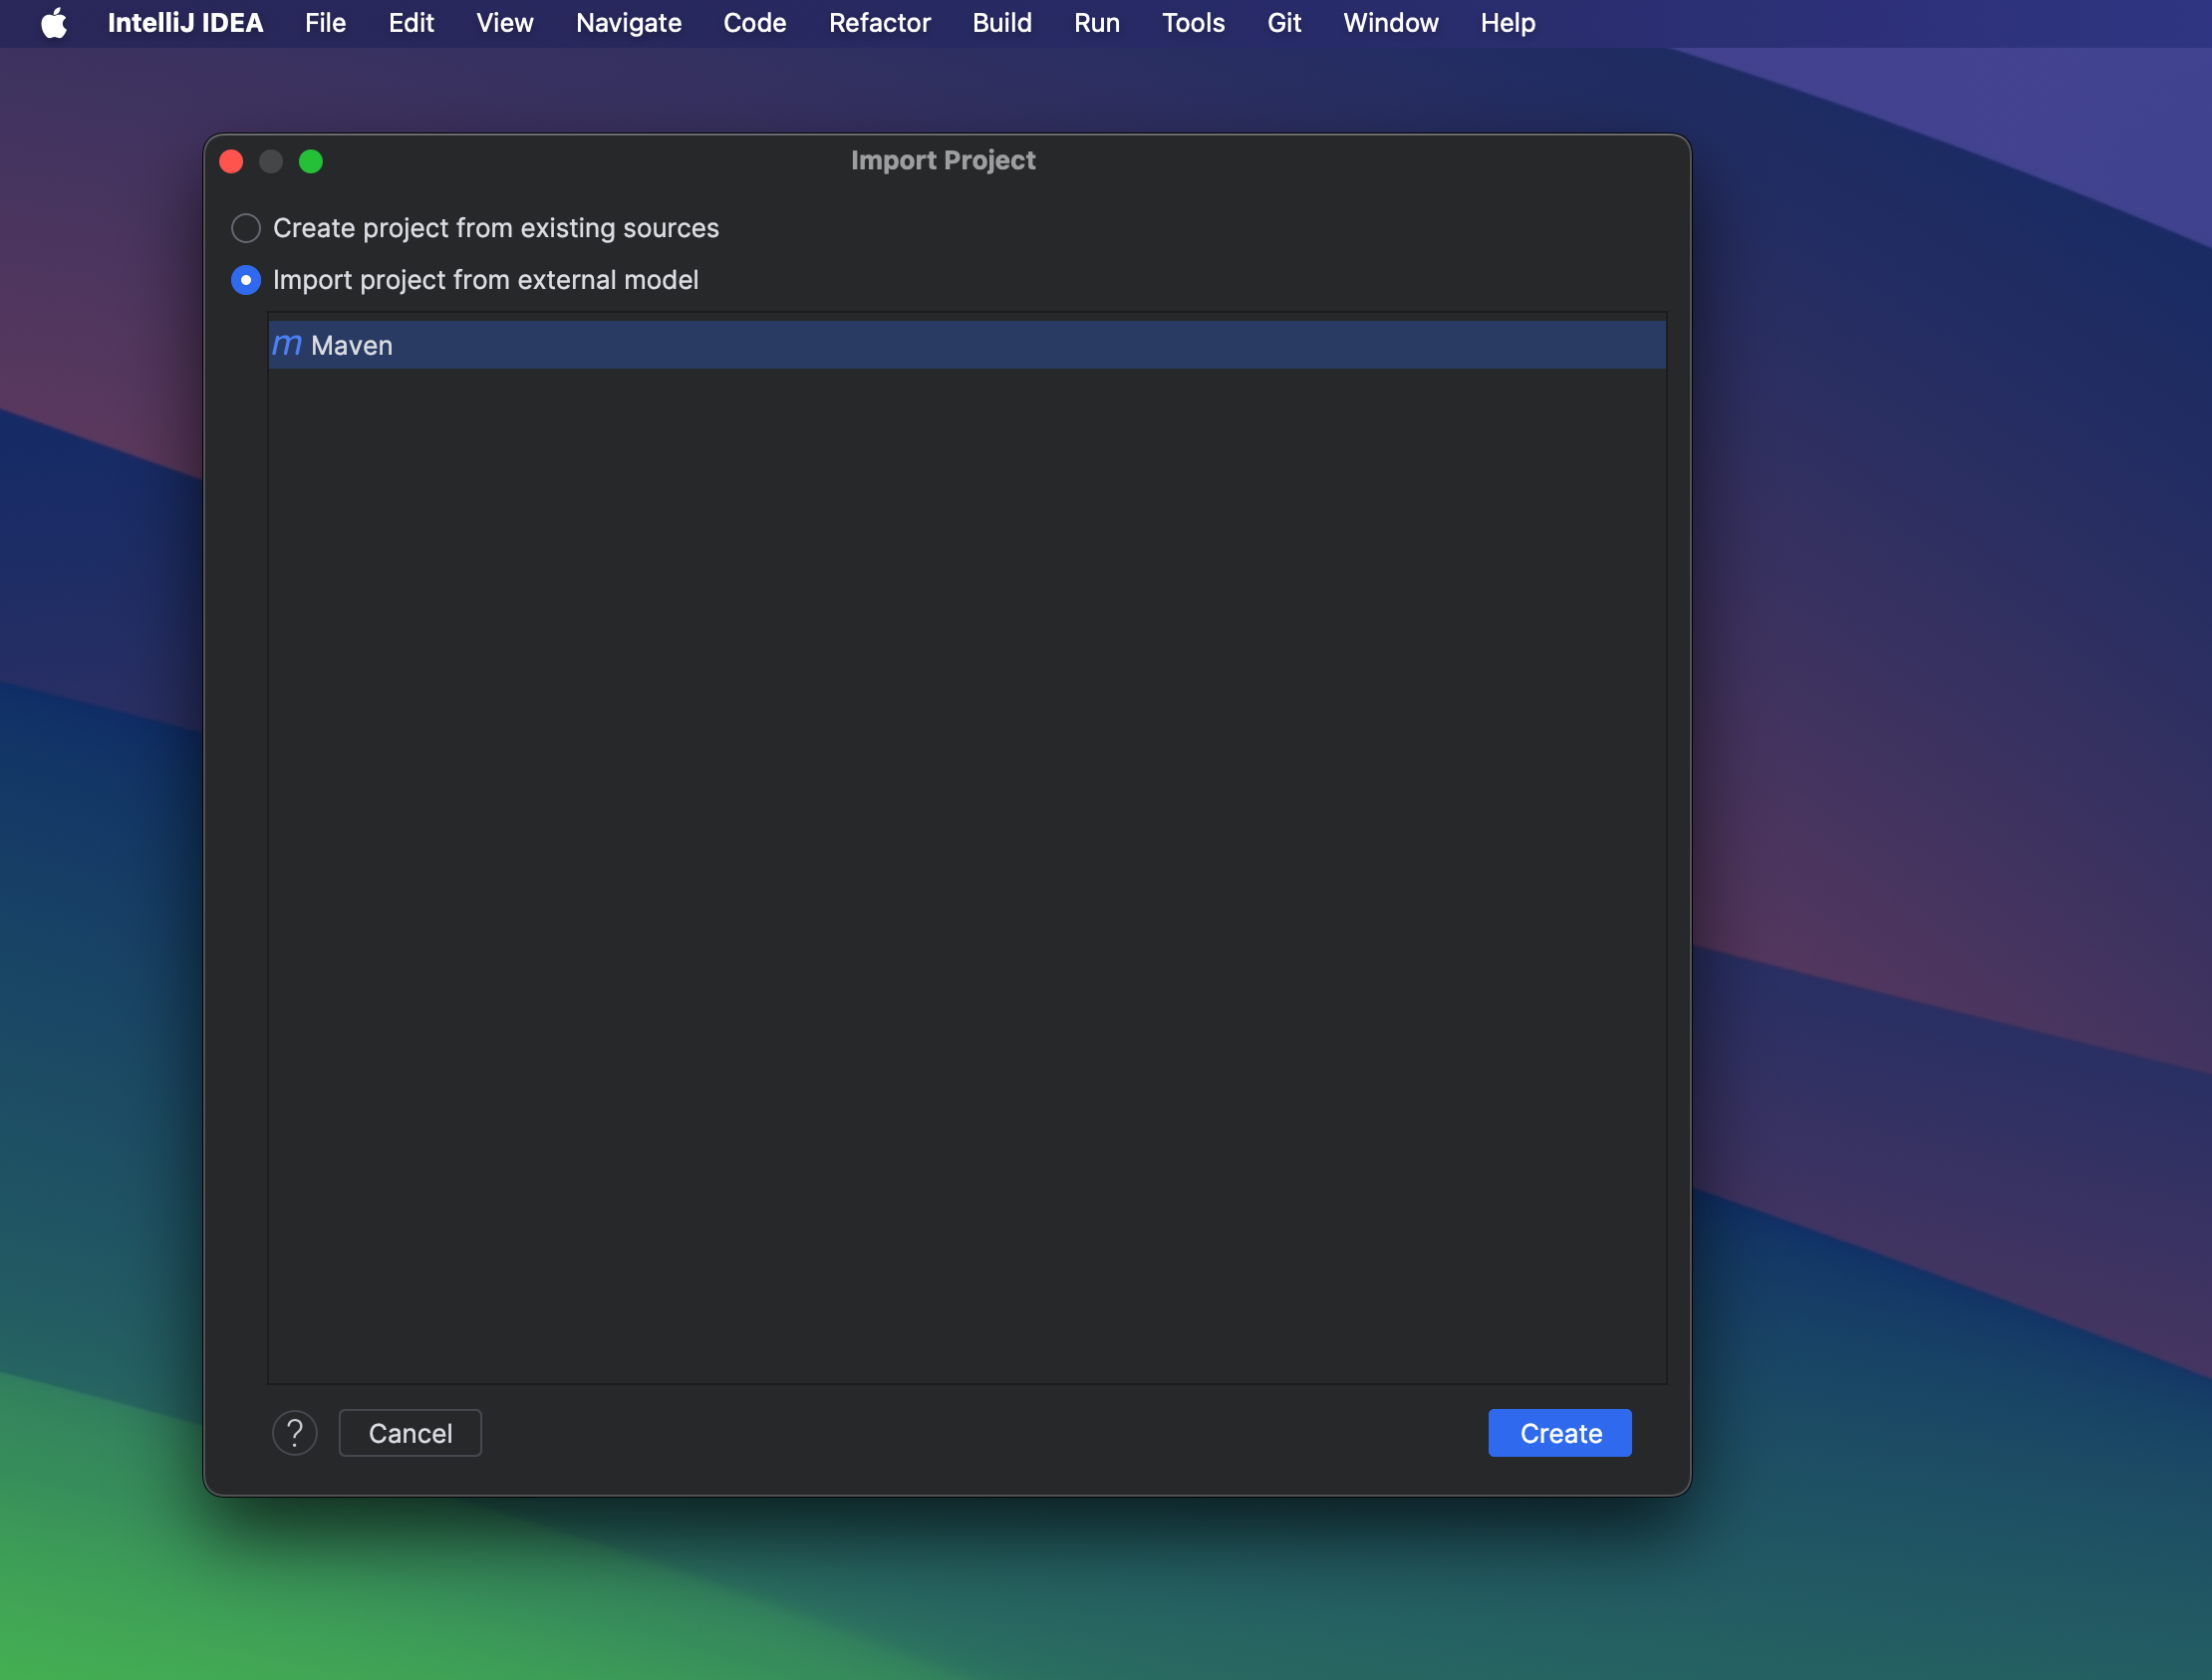
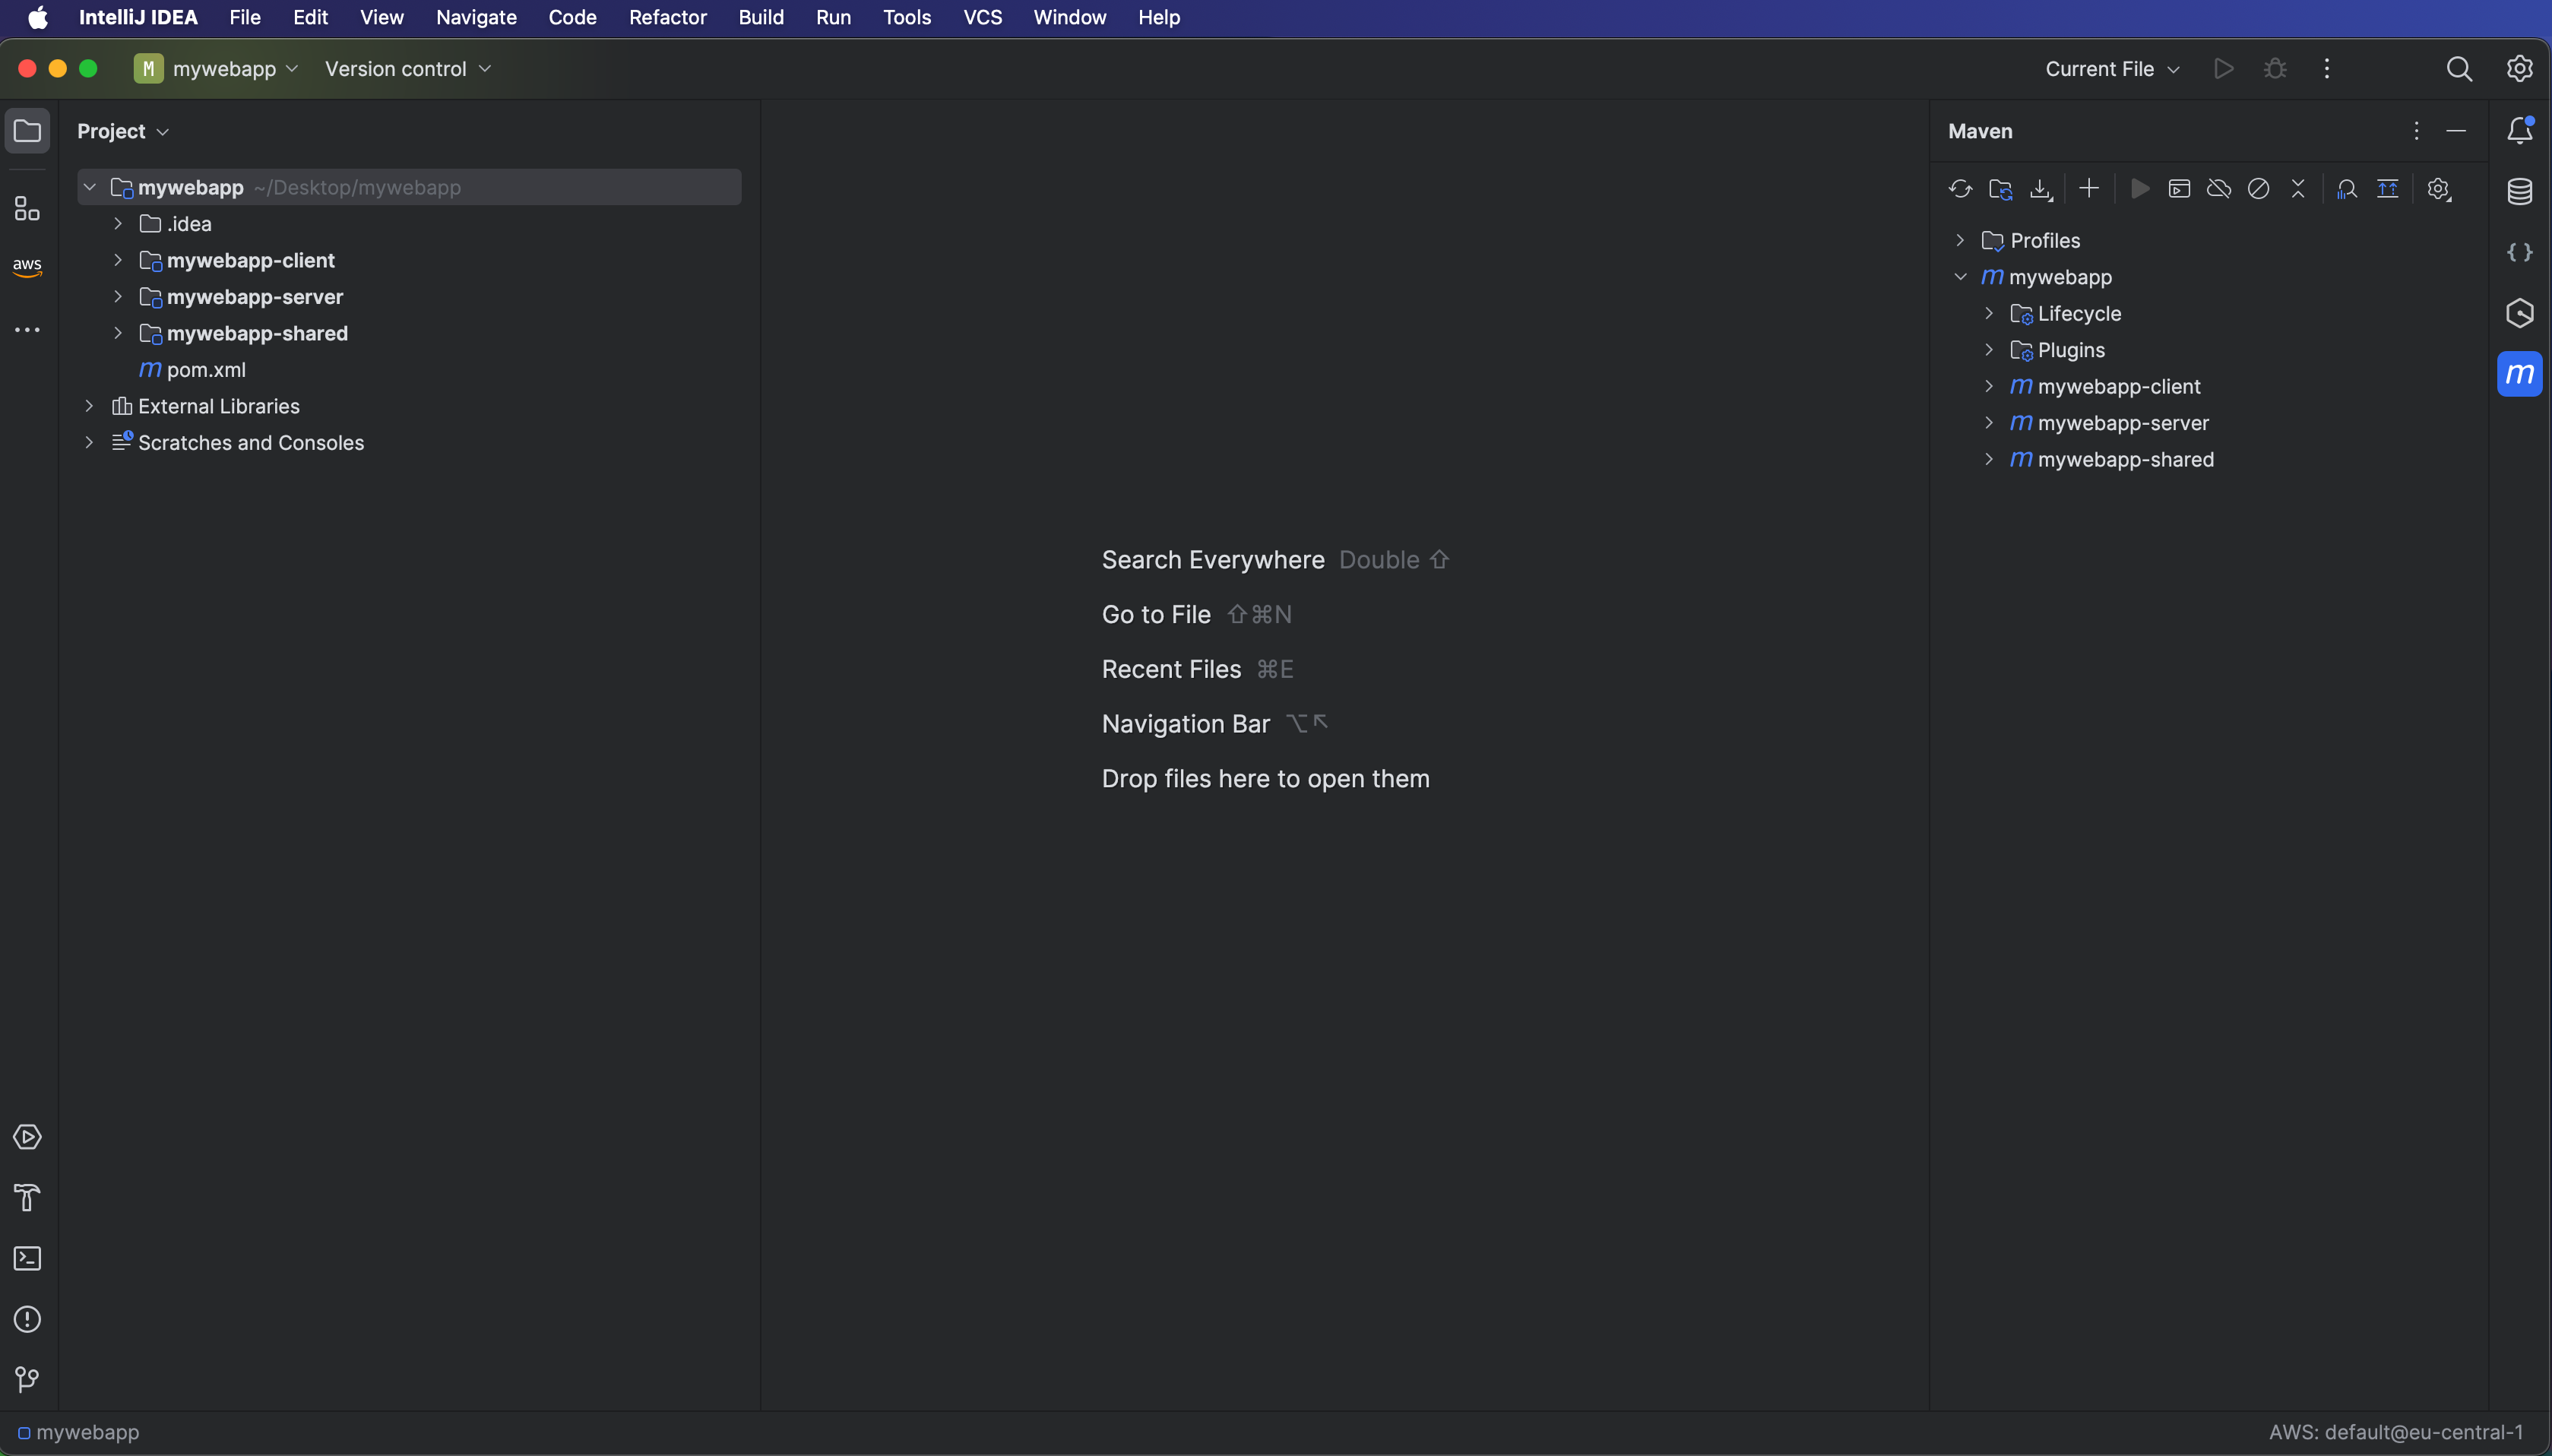
Press Create. The import process starts and after a few seconds, the project window appears:
Run locally in Super Dev Mode
To improve the development experience, you can set up two run configurations, one for the code server and another for the server.
Code Server Run Configuration
Press Edit configuration, a popup appears. Now press + and select Maven.
Enter gwt:codeserver -pl mywebapp-client -am in the field under Run:
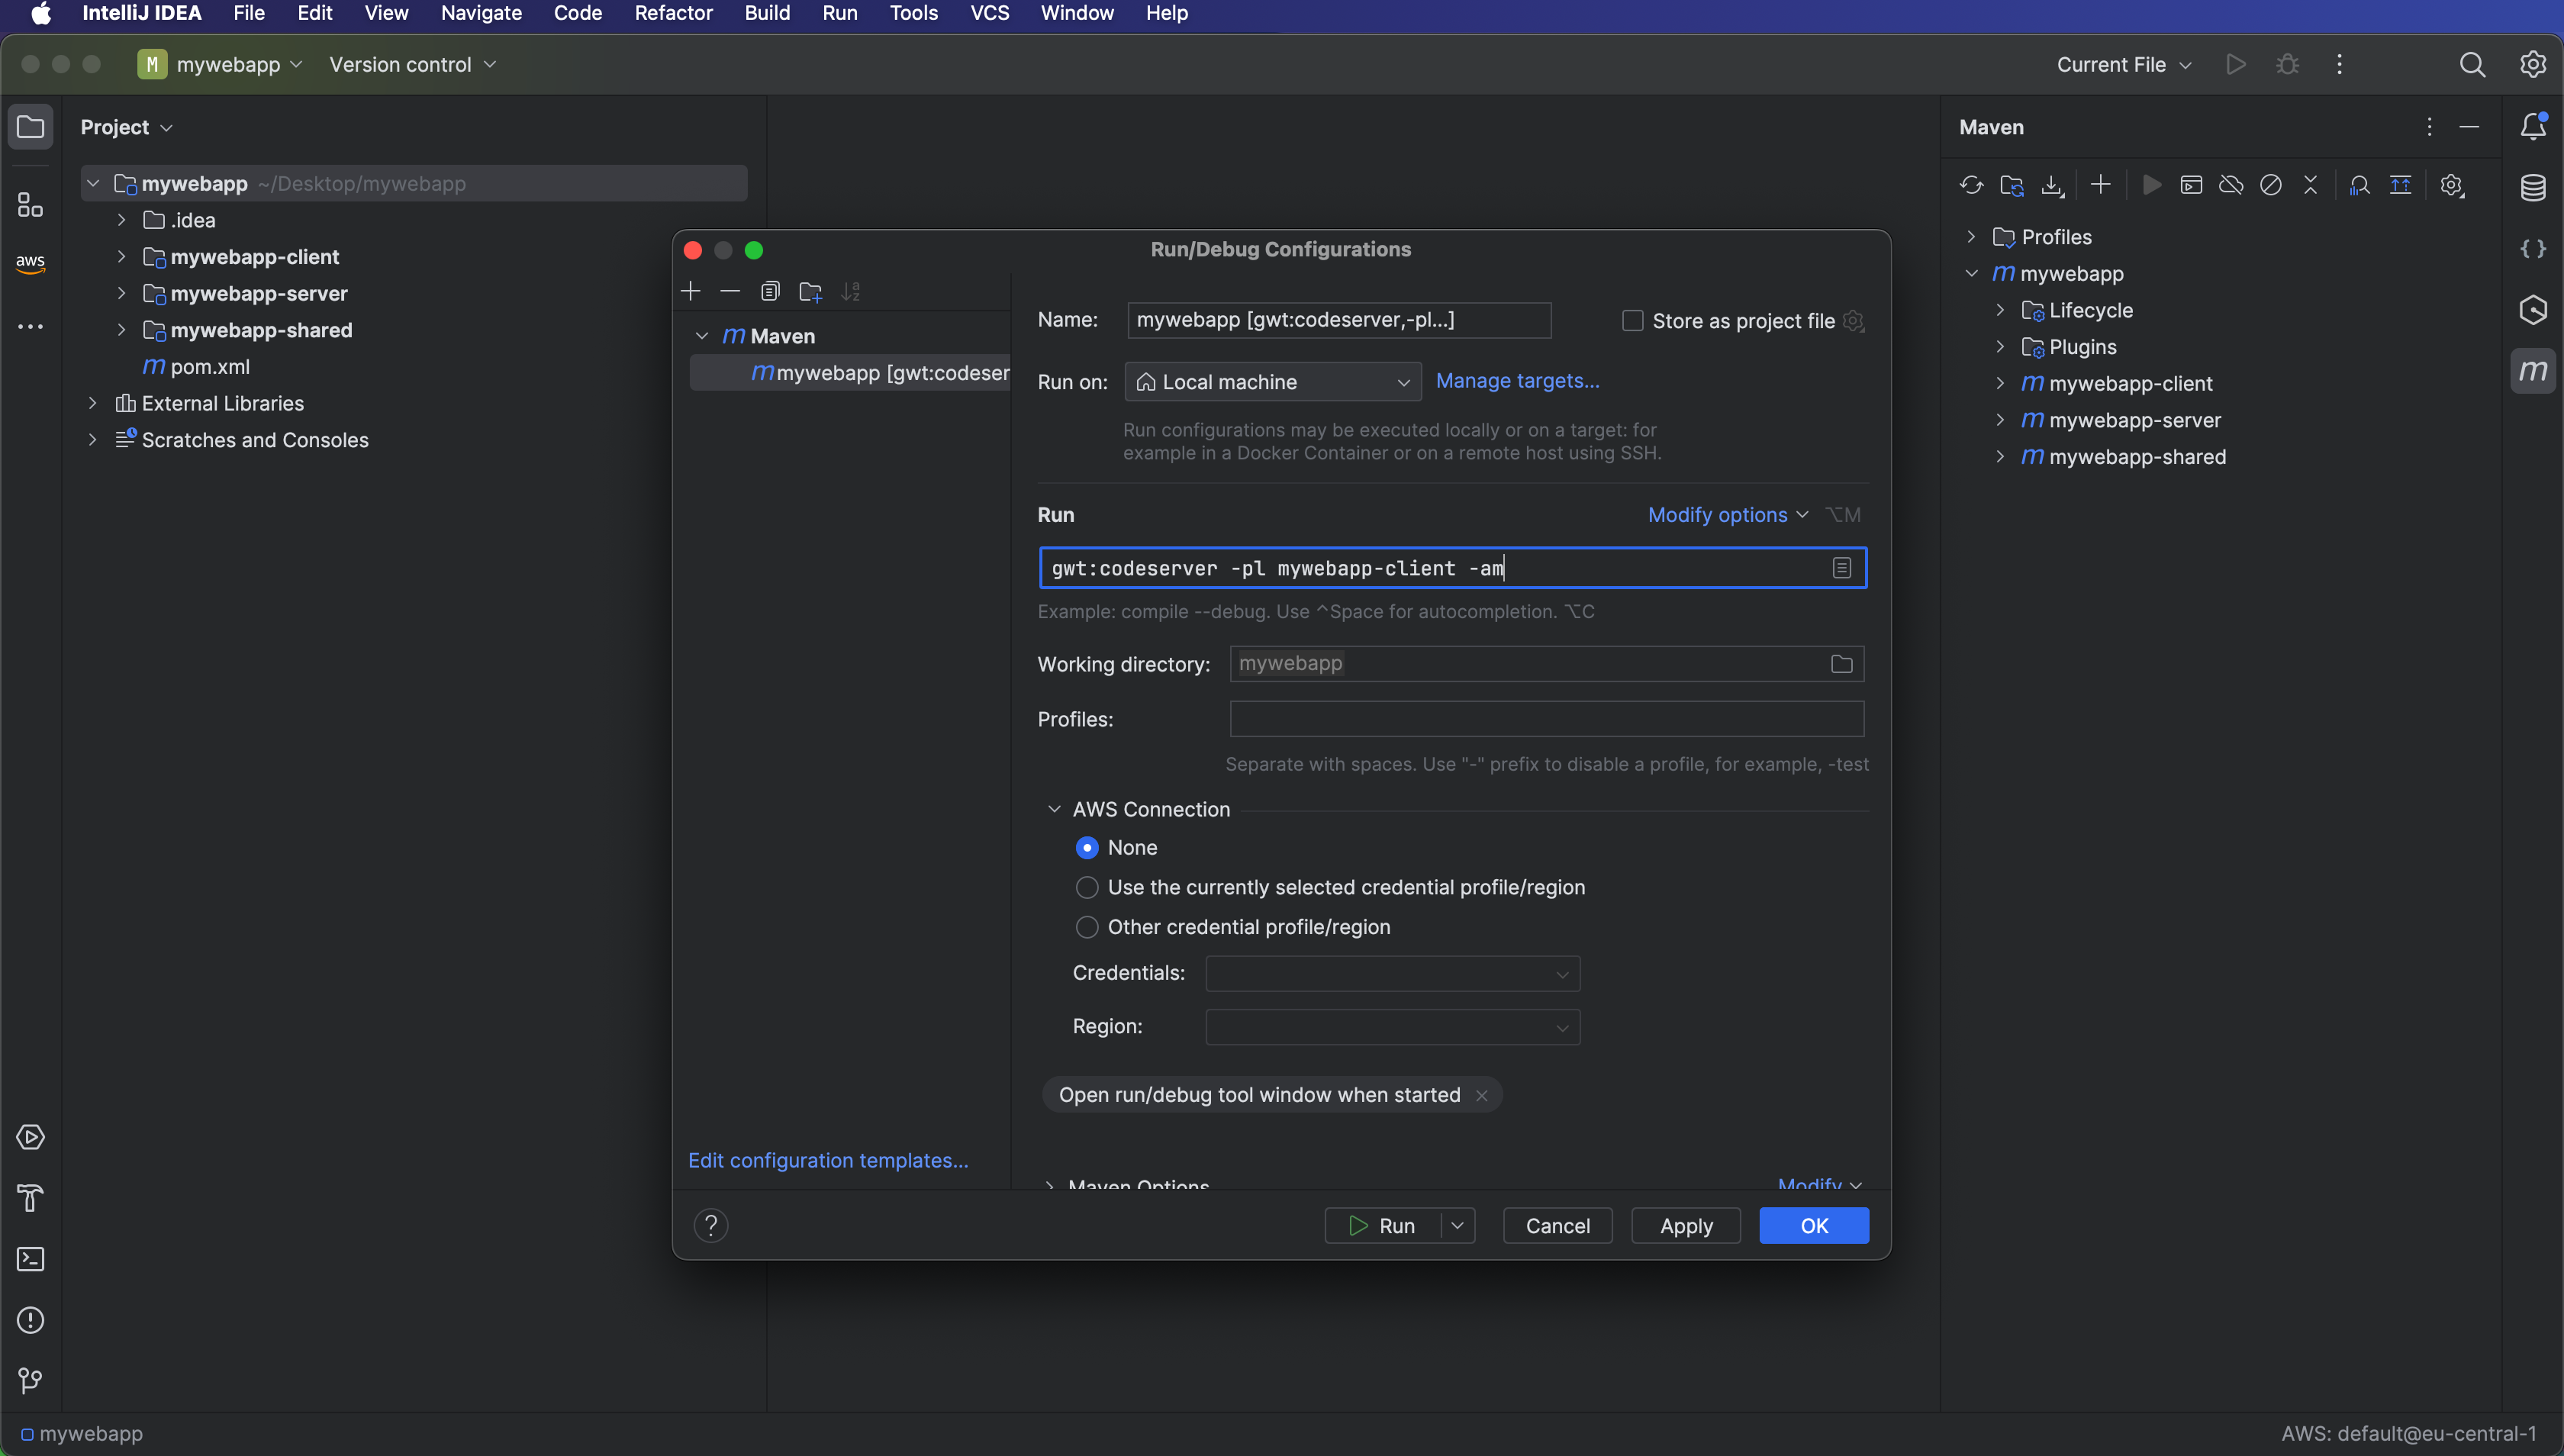
Now you have a run configuration, that starts the code server.
Note: When running the code server from the command line, you need to run gwt:codeserver -pl *-client -am.
This will not work inside a running configuration. Here you have to use the module name instead of '*'. Inside a run
configuration, the command line looks like that: gwt:codeserver -pl mywebapp-client -am.
Server Run Configuration
Press Edit configuration, a popup appears. Now press + and select Maven.
Enter mvn jetty:run -pl *-server -am -Denv=dev in the field under run:
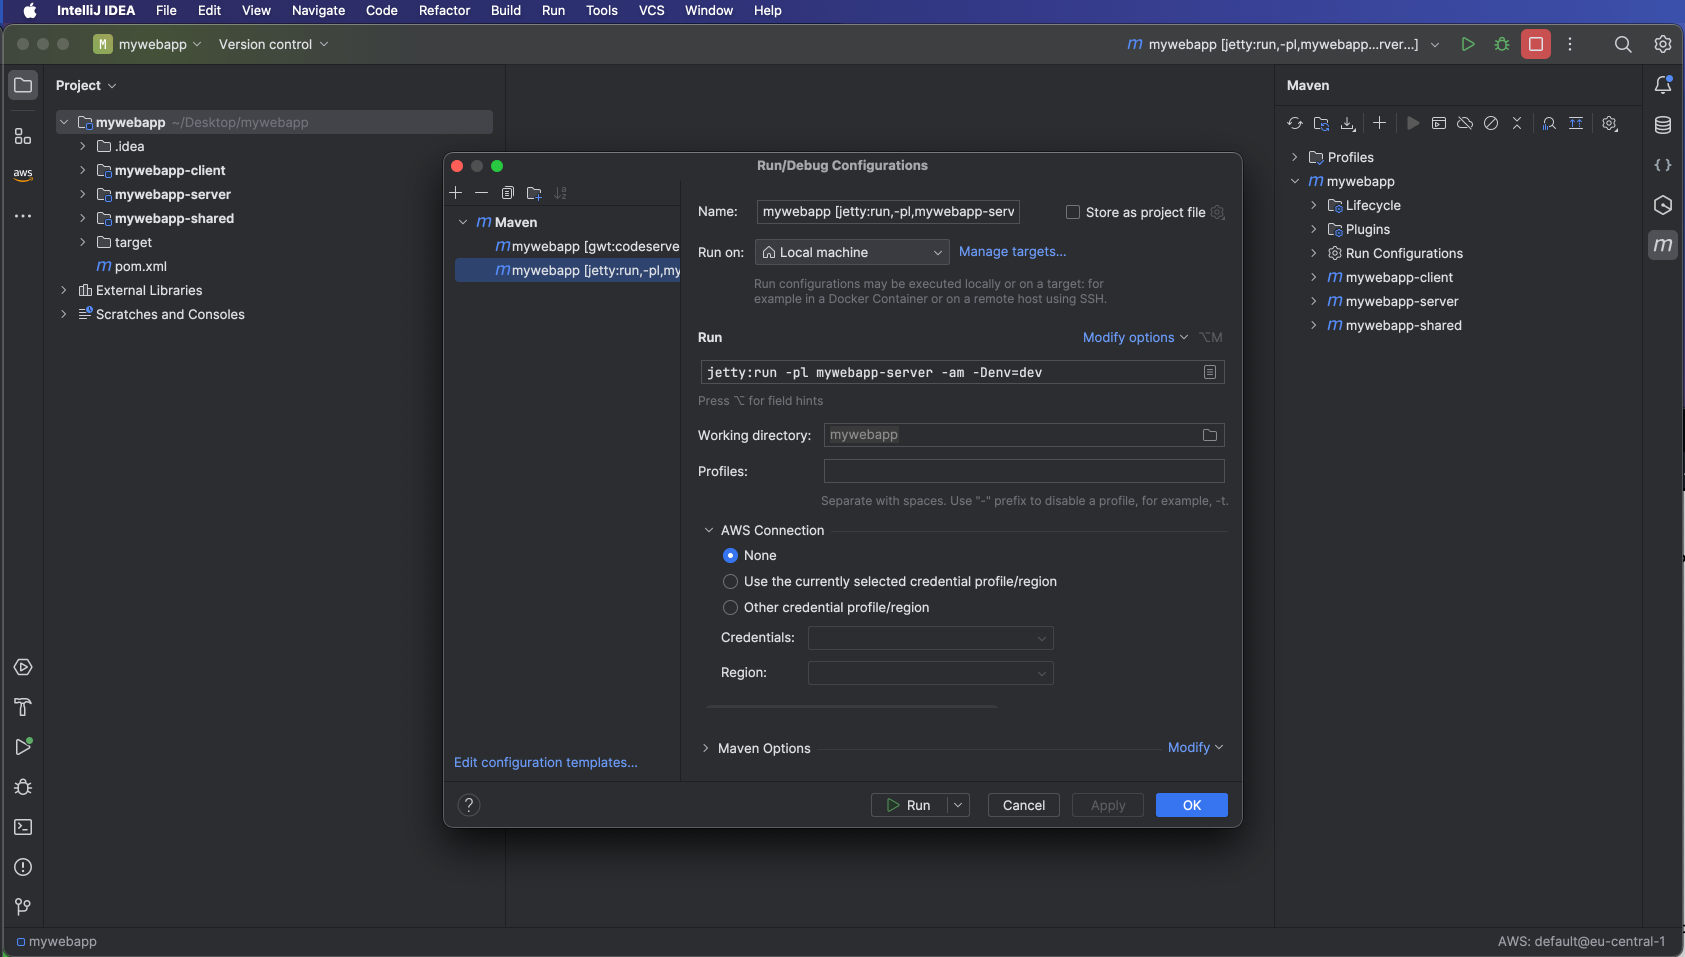
Now, you have a run configuration, that starts the server.
Note: you have to use the module name instead of '*'.