Getting Started
Starting with 2.11.0 of the GWT SDK the webAppCreator is deprecated. Instead, we will use the gwt-maven-archetypes by Thomas Broyer to create a new GWT project. Using the artifactId: modular-webapp the plugin generates a Maven project with separate modules for
- client
- server
- shared.
Separation of code is the way to go in modern web development.
TOC
- Prerequisites
- Create your first web application
- Run locally in super dev mode
- Make a few changes
- Debugging the browser
- Compile and run in production mode
- Set up an IDE
Prerequisites
- GWT 2.13.1 runs on Java 11+. If necessary, download and install the Java SE Development Kit (JDK) from Eclipse Temurin for your platform. Install the JDK by following the installation instructions.
- Apache Maven is also necessary to run the gwt-maven-archetype. In this sample the Maven CLI is used. If you don't already have it, install Apache Maven.
If you have problems running the gwt-maven-archetype from the command line, try setting the $JDK_HOME environment variable with export JDK_HOME="[pathToJDK]" and $MAVEN_HOME environment variable with export MAVEN_HOME="[pathToMaven]" and add both to the path.
Create your first web application
Open a terminal and choose the directory you like to generate the project into. Generate a new project using:
mvn archetype:generate \
   -DarchetypeGroupId=net.ltgt.gwt.archetypes \
   -DarchetypeVersion=LATEST \
   -DarchetypeArtifactId=modular-webapp
The archetype will request values for:
- groupId: com.mycompany.mywebapp
- artifactId: mywebapp
- version: HEAD-SNAPSHOT
- package: com.mycompany.mywebapp
- module-short-name: mywebap
After entering the parameter above, the terminal shows something like that:
[INFO] Using property: module = App
Define value for property 'groupId': com.mycompany.mywebapp
Define value for property 'artifactId': mywebapp
Define value for property 'version' 1.0-SNAPSHOT: : HEAD-SNAPSHOT
Define value for property 'package' com.mycompany.mywebapp: : com.mycompany.mywebapp
Define value for property 'module-short-name' app: : MyWebApp
Confirm properties configuration:
module: App
groupId: com.mycompany.mywebapp
artifactId: mywebapp
version: HEAD-SNAPSHOT
package: com.mycompany.mywebapp
module-short-name: mywebapp
 Y: :
Enter Y to continue.
Now, the new project will be generated and you see the following messages:
[INFO] ----------------------------------------------------------------------------
[INFO] Using following parameters for creating project from Archetype: modular-webapp:LATEST
[INFO] ----------------------------------------------------------------------------
[INFO] Parameter: groupId, Value: com.mycompany.mywebapp
[INFO] Parameter: artifactId, Value: mywebapp
[INFO] Parameter: version, Value: HEAD-SNAPSHOT
[INFO] Parameter: package, Value: com.mycompany.mywebapp
[INFO] Parameter: packageInPathFormat, Value: com/mycompany/mywebapp
[INFO] Parameter: package, Value: com.mycompany.mywebapp
[INFO] Parameter: module-short-name, Value: MyWebApp
[INFO] Parameter: module, Value: App
[INFO] Parameter: groupId, Value: com.mycompany.mywebapp
[INFO] Parameter: artifactId, Value: mywebapp
[INFO] Parameter: version, Value: HEAD-SNAPSHOT
[INFO] Parent element not overwritten in /Users/gwt-user/Desktop/mywebapp/mywebapp-client/pom.xml
[INFO] Parent element not overwritten in /Users/gwt-user/Desktop/mywebapp/mywebapp-shared/pom.xml
[INFO] Parent element not overwritten in /Users/gwt-user/Desktop/mywebapp/mywebapp-server/pom.xml
[INFO] Project created from Archetype in dir: /Users/gwt-user/Desktop/mywebapp
[INFO] ------------------------------------------------------------------------
[INFO] BUILD SUCCESS
[INFO] ------------------------------------------------------------------------
[INFO] Total time:  01:09 min
[INFO] Finished at: 2023-12-17T17:38:02+01:00
[INFO] ------------------------------------------------------------------------
Switch to the generated directory by entering cd mywebapp.
Listing of the directory (Windows: dir, Mac and Linux: ls -la), shows:
drwxr-xr-x@  6 gwt-user  staff   192 Dec 17 17:38 .
drwx------@ 50 gwt-user  staff  1600 Dec 17 17:38 ..
drwxr-xr-x@  4 gwt-user  staff   128 Dec 17 17:38 mywebapp-client
drwxr-xr-x@  4 gwt-user  staff   128 Dec 17 17:38 mywebapp-server
drwxr-xr-x@  4 gwt-user  staff   128 Dec 17 17:38 mywebapp-shared
-rw-r--r--@  1 gwt-user  staff  7423 Dec 17 17:38 pom.xml
Run locally in super dev mode
To start the code server, run the following command:
mvn gwt:codeserver -pl *-client -am
and entering the following command in another terminal window to start the server:
mvn jetty:run -pl *-server -am -Denv=dev
Now, switch to your preferred browser (we suggest using: Chrome, FireFox or Opera) and enter:
http://localhost:8080
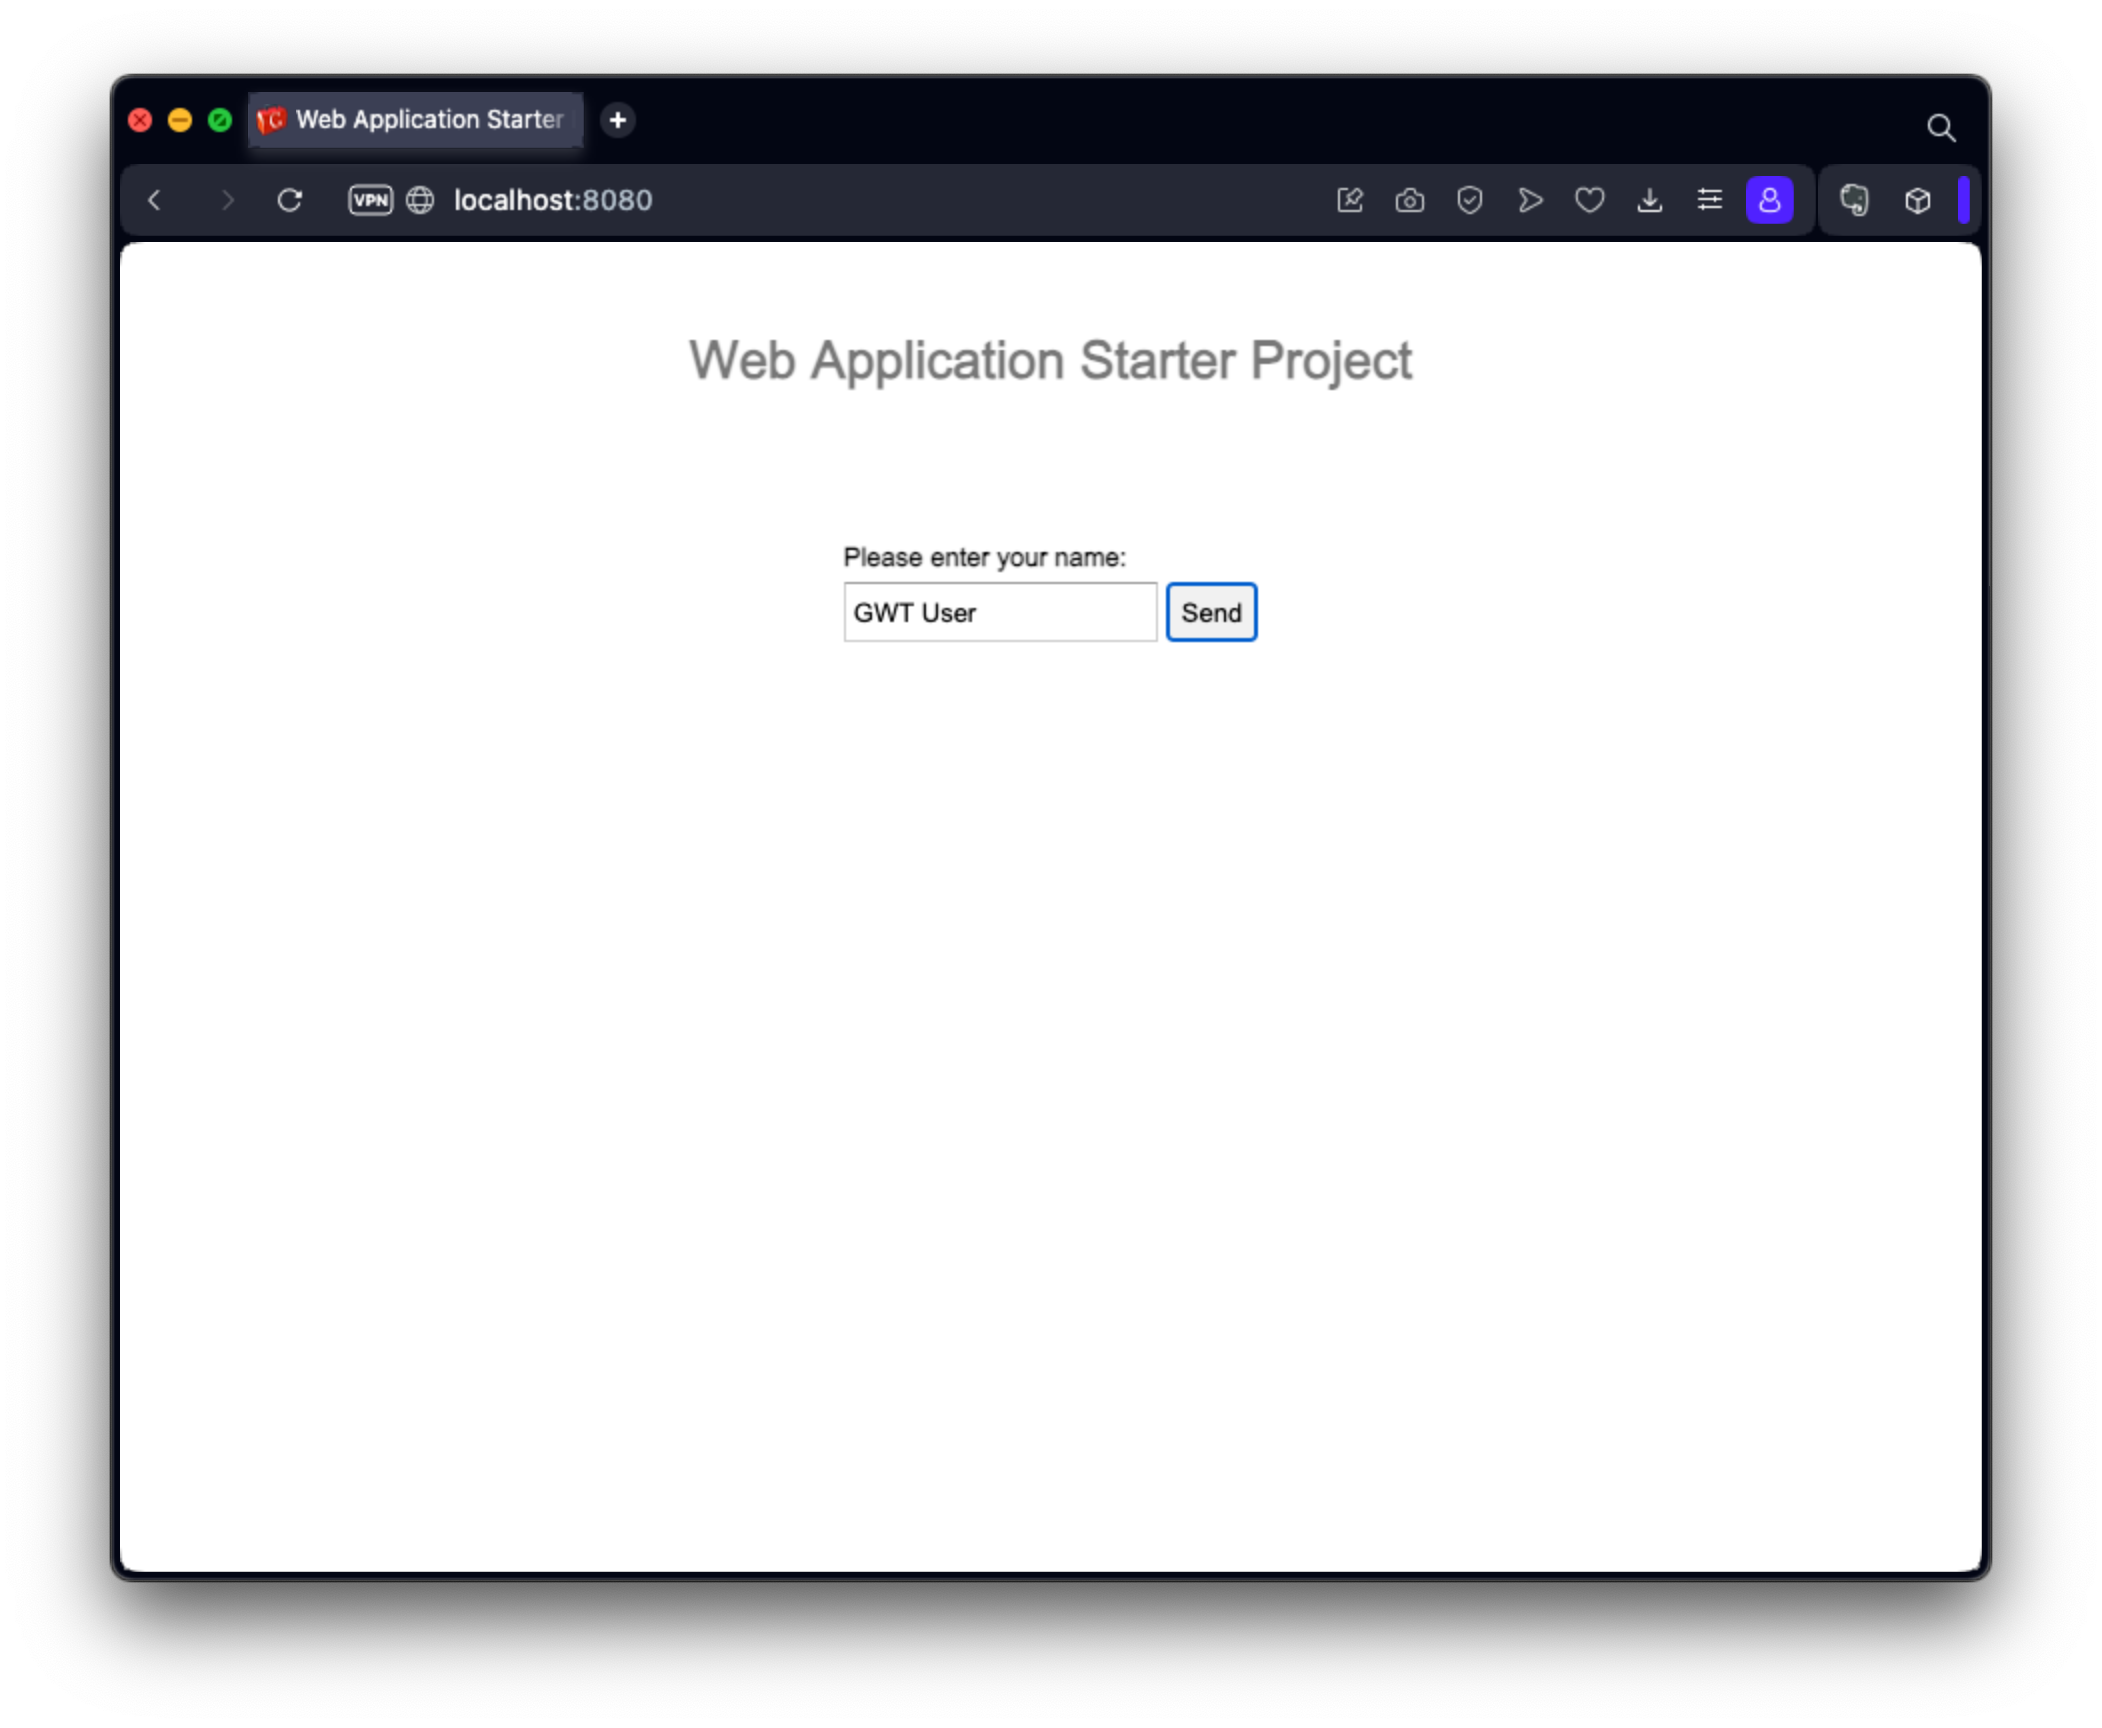
Yet, the application is running in super dev mode. You see something like this in the browser:
Make a few changes
Let's change the label of the button. Because this is something on the client side, we need to locate the source code in the client module.
The source code is located in the mywebapp-client/src/main/java/com/mycompany/mywebapp subdirectory and the source in the App.java class.
Look inside App.java. Line 42 constructs the "Send" button.
final Button sendButton = new Button("Send");
Change the text from "Send" to "Send to Server".
final Button sendButton = new Button("Send to Server");
Save the file and simply click "Refresh" in your browser to see your change. The button should now say "Send to Server" instead of "Send":
Debugging the browser
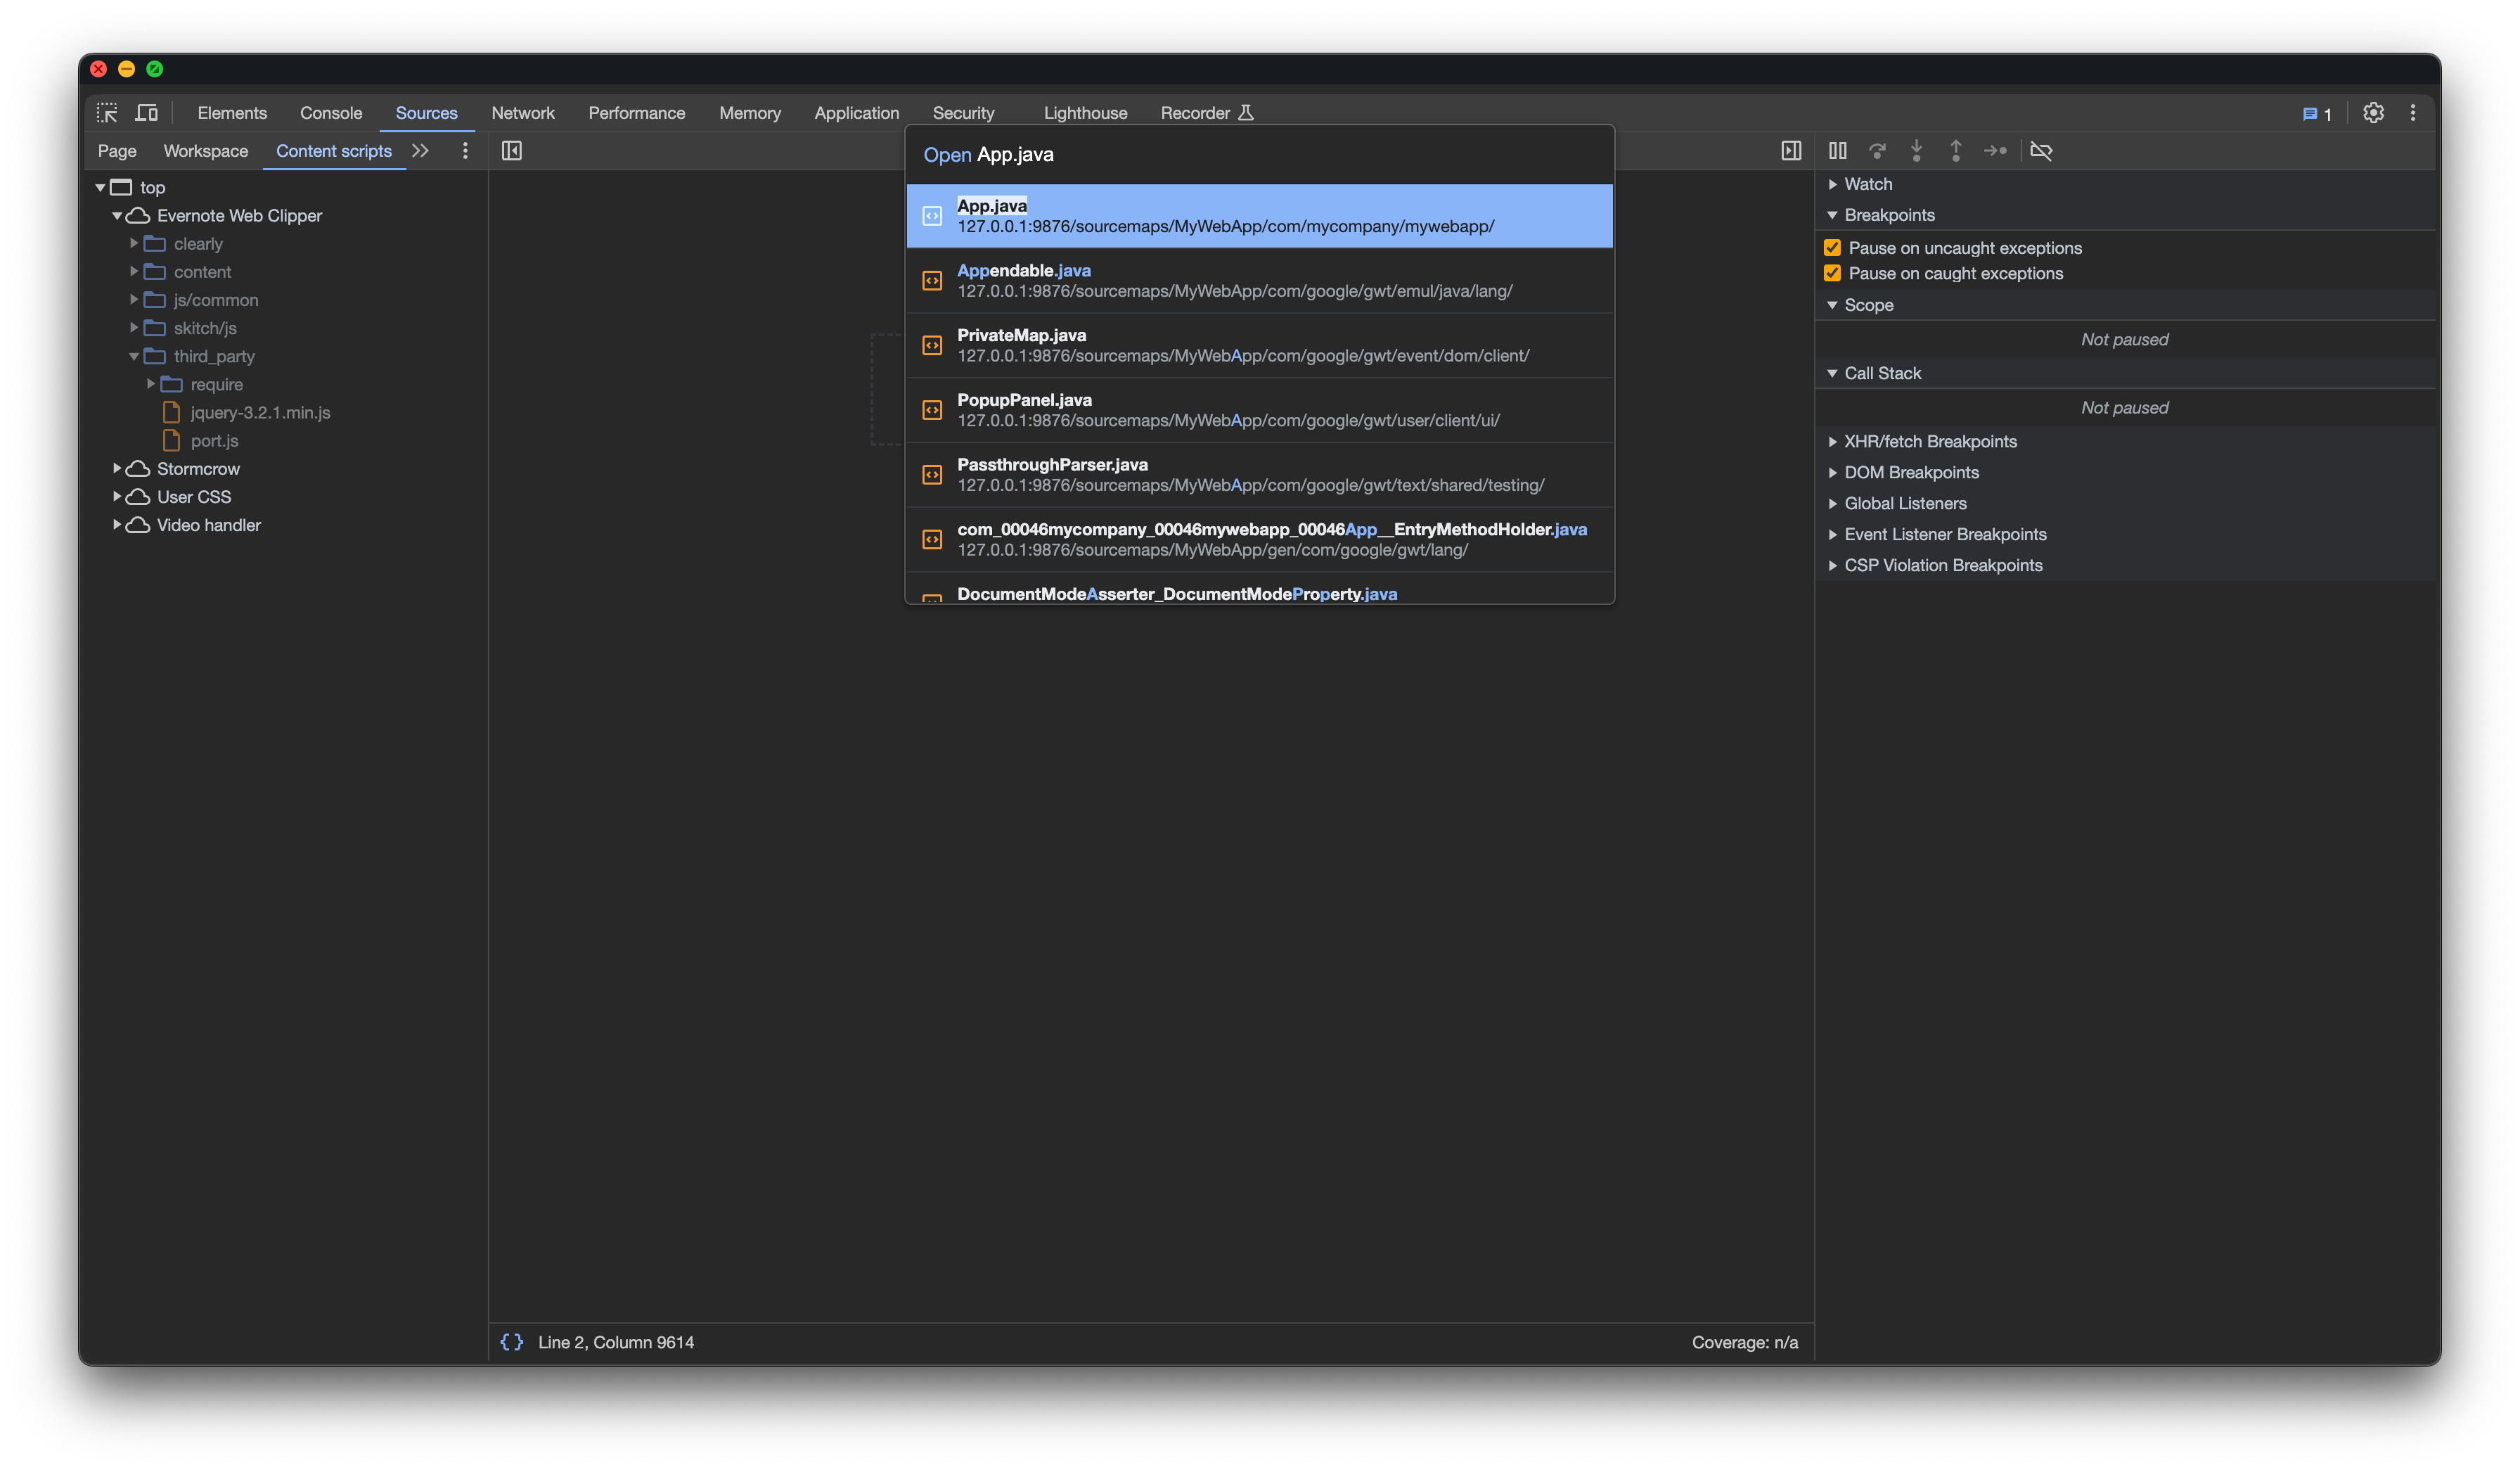
In super dev mode, you can easily debug your client code in the browser. While running your application, open the dev tools
in your browser. Select the Sources-tab and press ctrl-P (Windows/Linux) or cmd-P (macOS). A popup opens. Enter App.java and press return.
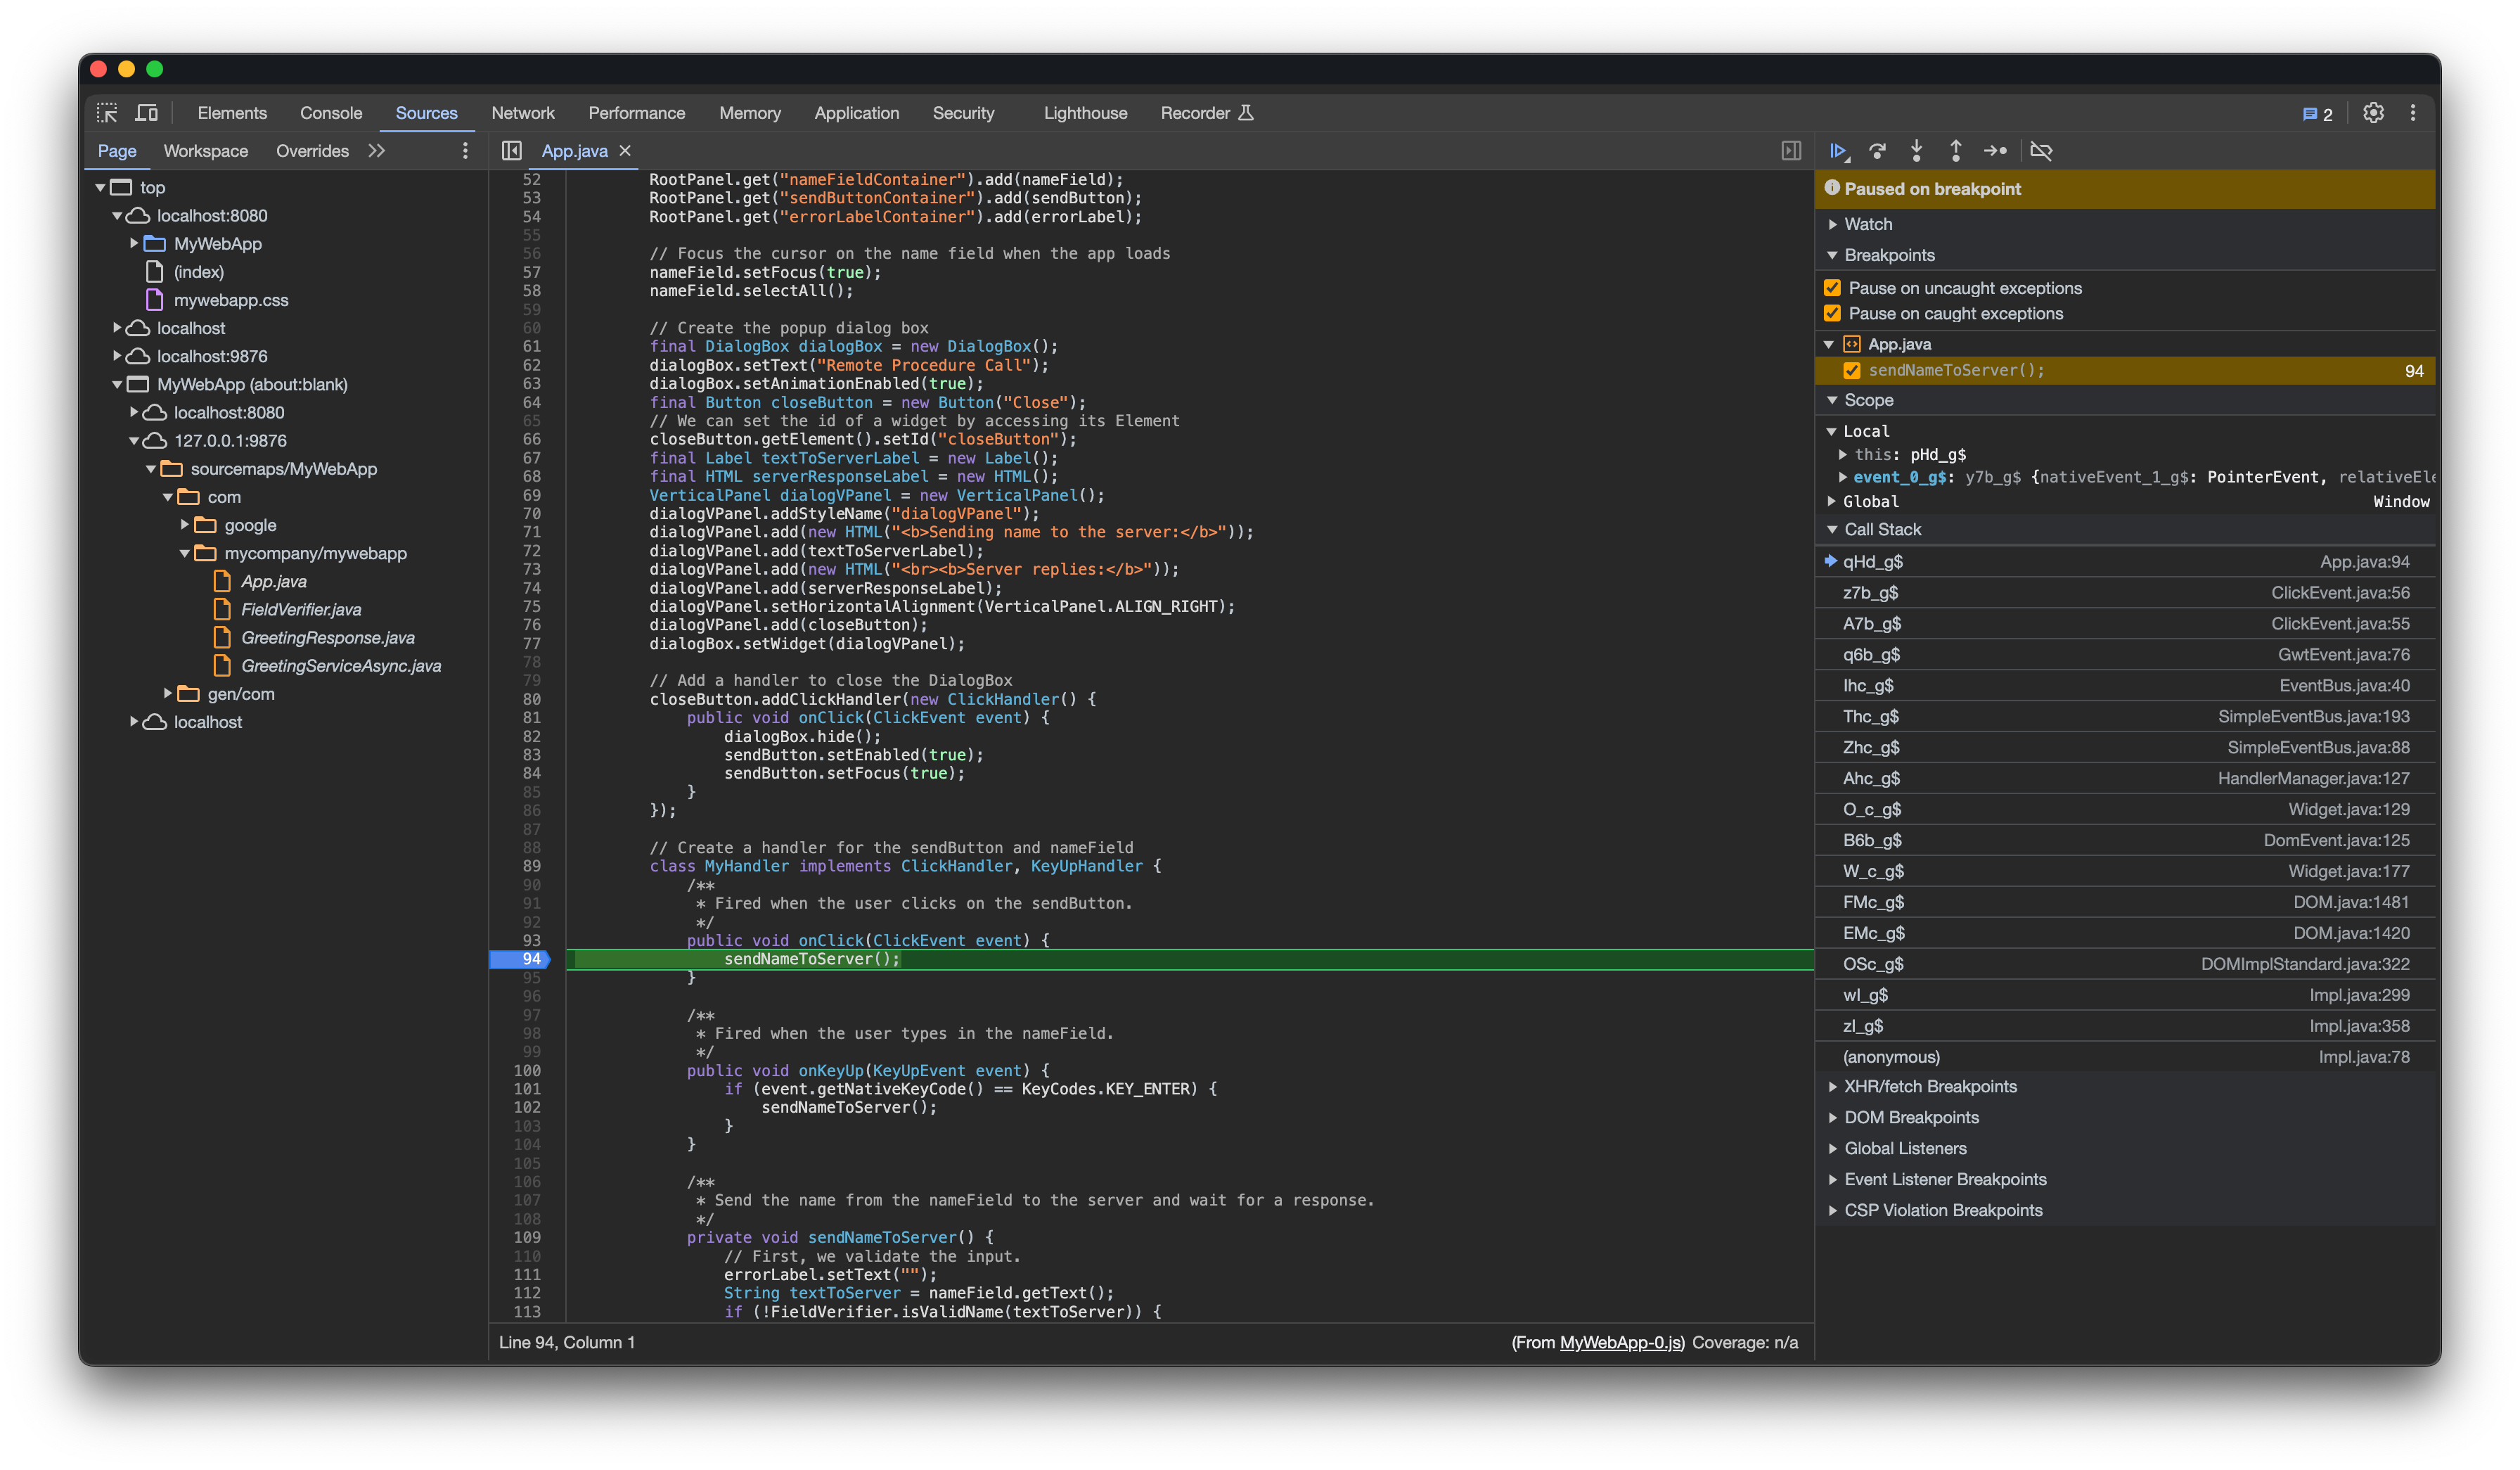
The source code of the App.java class is displayed in the debugger. Add a breakpoint by clicking of Line number 94. Press the send button.
The execution will stop at line 94. The stacktrace is visible, the content of the variable, etc.
Compile and run in production mode
To run the application as JavaScript in what GWT calls "production mode", create the application by executing:
mvn clean package
The Maven "package" goal invokes the GWT compiler which generates a number of JavaScript and HTML files from the
MyWebApp Java source code in the target/ subdirectory. There you will find a mywebapp-server-HEAD-SNAPSHOT.war.
You can deploy this war file to every servlet engine and run it. Once running, enter mywebapp-server-HEAD-SNAPSHOT/index.html
in your web browser. The application should look identical to the super dev mode above. You can change the name of the war using
Maven 'buildname`.
Congratulations! You've created your first web application using GWT. Since you've compiled the project, you're now running pure JavaScript and HTML that works in Edge, Chrome, Firefox, Safari, and Opera. You could now deploy your application to production by serving the HTML and JavaScript files from your servlet engine.
In case you prefer a Spring Boot server, check the gwt-maven-springboot-archetype plugin. It creates a project in a similar way, but uses Spring Boot instead of Jetty on the server side.
Set up an IDE
Now that you've created your first app, you probably want to do something a bit more interesting. But first, if you normally work with an IDE you'll want to set up your IDE to use the GWT SDK:
Now, with your sample project set up, head over to Build a Sample GWT App.